French onion soup€9.00
Gruyère crouton, beef broth.
Gluten, Milk, Celery
A QR code menu is not a picture of a code. It is a menu page that opens on a guest's phone when they scan a code printed on the table. The code never changes; the page behind it does, so a new price or a sold-out dish is on every table within minutes. Here is how to build one in an afternoon, and the mistakes that make guests give up and ask for paper.
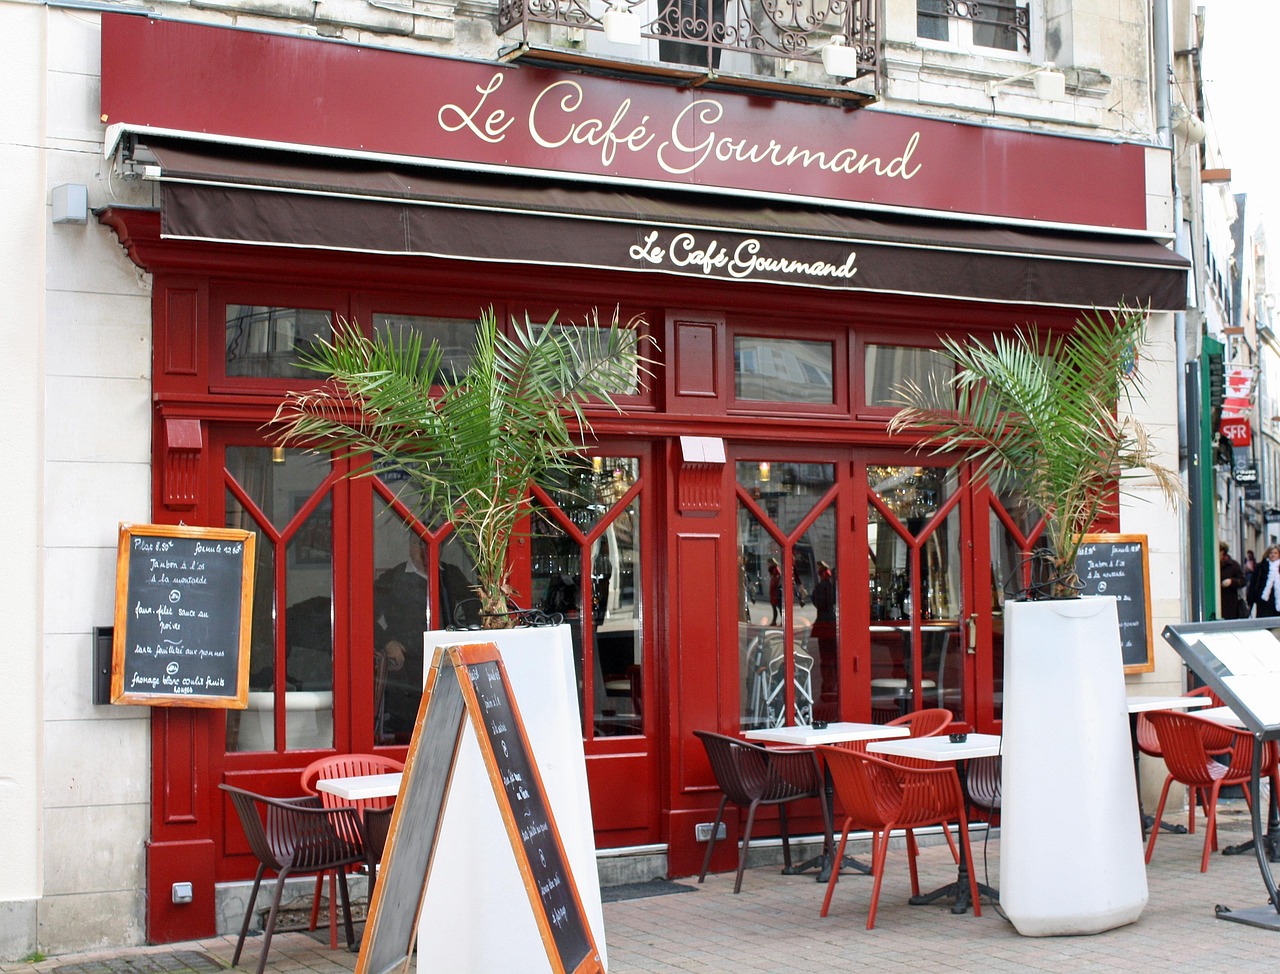
Bistro, french
Gruyère crouton, beef broth.
White wine, shallots, parsley, fries.
🌿 Gluten-freeFlank steak, shallot butter, fries.
Atlantic salmon, lemon butter, seasonal vegetables.
🌿 Gluten-freeRoasted duck, orange jus, potato gratin.
Vanilla custard, caramelised sugar.
🌿 Vegetarian🌿 Gluten-freeMascarpone, espresso, cocoa.
🌿 VegetarianAsk for today's pour.
🌿 VeganFresh lemon, mint, sparkling water.
🌿 Vegan🌿 Gluten-freePlease tell your server about any allergy. Allergen information is a guide and must be confirmed by the restaurant.
A real menu page, not a screenshot: scroll it, tap a category, change the language, open a dish photo. Open the full sample menu with its QR code.
Three things work together. The menu page holds your sections, dishes, prices, photos and the details guests ask for. The QR code is a link to that page in a form a camera can read. The table card or sticker is where the code lives in the room.
Almost every problem with QR menus comes from one of the three: a page that is a PDF to pinch and zoom, a code printed too small, or a card nobody can find. Build the page first, because the other two depend on it.
Start from what you have. If you already have a printed menu or a designer's PDF, upload the PDF or one photo per page, and have every section, dish and price read into an editable menu, then fix what the scan got wrong. If you do not, type the dishes, or tell the chat your sections and prices and let it build the page.
Keep names and prices exactly as they are on your printed card. Leave a description empty rather than inventing one: you can have the AI write short descriptions afterwards, and you should read each one.
Most guests will read it standing up or in a dim room, with one hand. Use category tabs that stay at the top, so a guest jumps from starters to drinks without scrolling past forty dishes. Keep descriptions to a line or two. Choose a layout that fits the place: photo cards for a restaurant that sells on pictures, a plain list with dotted prices for fine dining, a photo grid for burgers and street food.
Photos help when they are good and hurt when they are not. A clear photo of the dish as it is served sells it. A dark, stock-looking one makes guests doubt the plate. If you are not sure, start with photos on the five dishes you are proudest of and a clean text row for the rest.
Four things generate most of the questions your staff answer. Allergens: tag each dish with the 14 allergens the EU requires you to declare, and the page shows them in the guest's language. Diets: tag dishes vegan, vegetarian, gluten-free or spicy, and guests can filter to what suits them. Languages: if you serve visitors, add their languages and translate the dish names and descriptions in one click, then check the names of dishes your cook would not recognise. Contact and hours: a call button and a map link on the first screen save a phone call.
An AI can suggest allergens for dishes that have none, but treat that as a first draft. The responsibility for what is on the menu stays with the restaurant, so check every dish against your recipes and suppliers.
Publish the page and download the code as a PNG, or as an SVG for a printer. Print a table card with the restaurant's name and 'Scan to see the menu' next to the code, and put one on every table, plus a larger one on the window or the door.
Size and contrast decide whether it scans on the first try. Print the code at least three centimetres square on a table card, keep a blank margin around it, and use dark on light. Do not put it on a curved bottle or behind a glass of water. Scan it yourself with two different phones, in the evening light, before you print a hundred.
This is where a QR menu pays for itself. A price rises: change it in the editor, and every printed code shows it. A dish runs out: switch it to unavailable, and guests see it greyed out instead of ordering it. A special arrives for the weekend: add it Friday and remove it Monday. The code on the table never changes, as long as you do not change the page's address.
Add a second location when you open one. It starts as a copy of the first menu, with its own address, contact details and prices, under the same restaurant and the same look.
A PDF behind the code is the most common one: it loads slowly, cannot be searched and is tiny on a phone. A code that is too small or low in contrast is the second. A third is forgetting that some guests do not want to use their phone at the table, so keep one paper menu at the host stand for them. The fourth is letting the page go stale: if the first thing a guest sees is a dish you stopped making in March, they stop trusting the rest.
No. The camera on any recent phone reads the code and opens the page in the browser.
Nothing. The code is a link to your page, and the page shows the current menu. Codes only stop working if you change the page's address.
Yes. Guests choose a language from a sheet at the bottom of the page, and the page opens in their phone's language when you offer it. Dish names and descriptions are translated in one click and checked by you.
No. A dish without a photo shows as a plain row. Add photos gradually, starting with the dishes you most want to sell.
Showing accurate allergen information helps, but no tool makes you compliant by itself, and the responsibility stays with the restaurant. This is general information, not legal advice.
Keep a printed menu at the host stand for them. A QR menu replaces the reprinting, not the courtesy.